

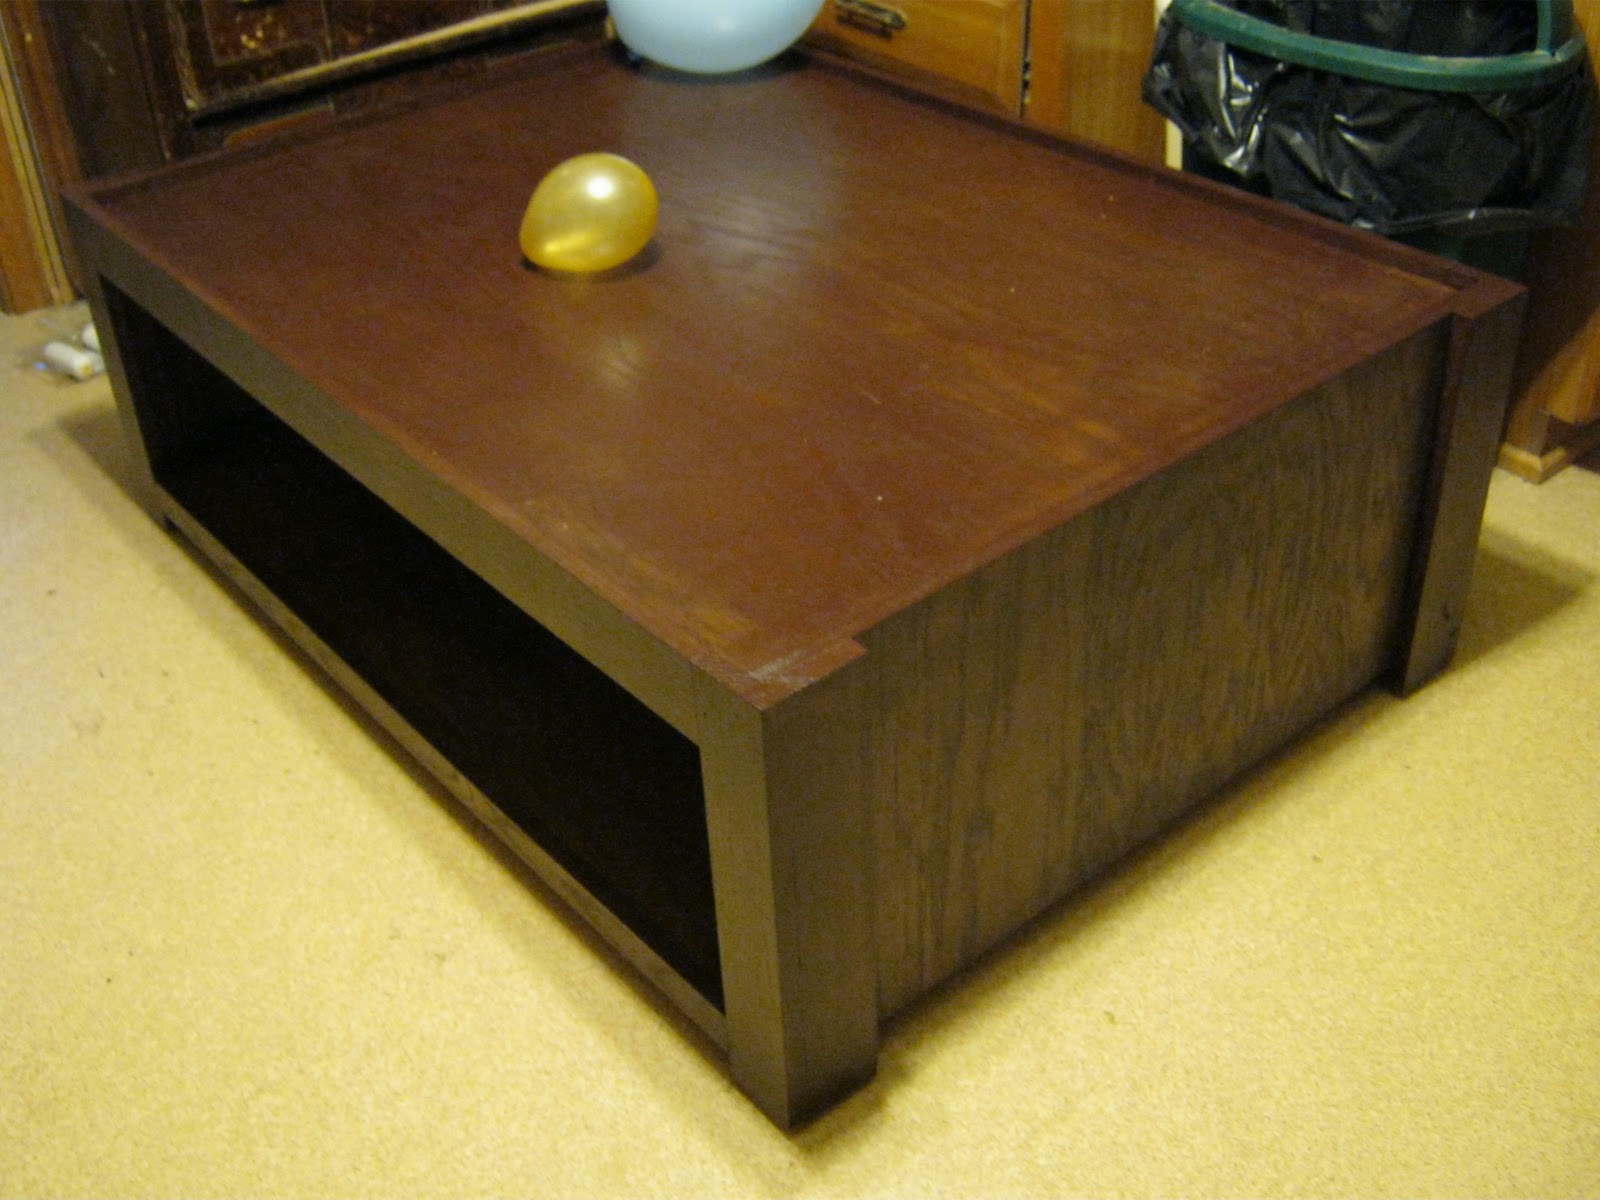
This is the train-activity table we made for our Grandson.

My daughter plans to put baskets on the bottom shelf to hold toys.
She told me when they got it back to MN, (took up almost the whole back of their Suburban, BTW), that the road carpet that they have almost fits inside the top. It goes up the rim some.
I don't have a complete tutorial for this because Gary helped me to make it, so that it was from both of us, for Henry's birthday. He doesn't like to take time to take pics and doesn't like to be in any pics I take.
Although; this is what we did.
You can see the design I came up with HERE on my design blog. It is made of oak faced MDF and oak boards. We made it out of these materials because #1 Jessica wanted it to be stained rather than painted, #2 oak looks so much better stained than pine, and #3 we already had some oak MDF here from a project that we decided to go in a different direction with and we had leftover oak boards from remodeling our bedroom.
These are the only pics I got to take during the process. It is of the jig we first had to make to cut the large panels straight with the circular saw.
 |
| See how the saw runs on the jig instead of on the panel? |
We attached a 1x4 pine board to a piece of Melamine paneling we had leftover from the mudroom bathroom over 20 years ago. The Melamine allows the saw to glide over it and not bind the way it does if you just run the saw on the panel, butted up to a clamped on board.

We started off cutting the MDF for the shelves and sides. We then cut all the legs to size. Gary glued and nailed the legs together. We just did a butt joint, otherwise we would have had to add trim to the corners so they wouldn't be sharp. Once he had all the legs done and sanded, I built the sides, by first gluing and nailing the corners (legs) and then adding the shelf supports. When the sides were done, I placed the shelves in and glued and nailed them to the sides. Gary then attached the front and back shelf supports under the shelves and to the legs. We then added the trim pieces on the front and back to cover the MDF edges as well as the shelf supports and give a lip to the top shelf , so things can't roll off easily.
The final steps were the satining and finishing. Do not believe it when the can says you can apply stain at 55°.I was doing this in the garage and it was the upper 50's and the stain did not go on well at all. We had a space heater blowing onto the project to help the glue dry and where it was a little warmer, the stain went on better. Maybe it's because it was a water based stain, but Jessica didn't want oil based because they had 6+ hours of driving home with this thing in an enclosed space. For the rest of the finishing we took it into the house, in the mudroom, and finished it out there. Anyway, I was out of stain and it wasn't dark enough, so I applied some brown paint I had leftover from the inside of Blake's toy box. I remembered that that paint had acted more like stain because it didn't cover in several coats and let the grain show through. That was all it took to get the color we wanted. I followed with 2 coats of Polycrylic on the whole project and 3 coats on the shelves which would get more abuse.
All in all I think it turned out quite well, considering we had to work this project in while trying to fill silos.
Have A Fun Evening!

Pretty amazing! I'm sure that will be put to good use!
ReplyDelete