I really like getting feedback and will respond to comments.

So please, won't you leave me some footnotes!

Better yet.......... Become a follower!

I'll follow you back!

Do You See What I See? Check out the images I've found!
Print Friendly and PDF

Thursday, December 23, 2010

WHAT DO YOU WANT FOR CHRISTMAS?


Here's my WISHLIST! 
Dremel Trio Tool Kit With Accessories 6800-01 Image1
Dremel Trio Kit
Although the jury is still out on this one, 'cause the reviews I've read are not overly glowing as far as the unique expensive bits this takes and their tendency to break easily.
Product Image 
Japanese Flush Cutting Saw
Product Image

Cutting Mat Translucent 24x36

I have a small cutting mat measures 4x16 and not translucent. I want a larger one and clear so I can put it on top on projects.
Product Image

Stanley 03-046 Yankee Push Drill


There are a few other things that I have on my Amazon wish list, but these are the things I want for DIY. Most women ask for jewelry or clothes, but I'd rather have tools.


MERRY CHRISTMAS EVERYONE!!!


Photobucket

Monday, December 20, 2010

I'M A TOP 11 CONTENDER!

I made the top 11 of thediyclub's Project Party for December with my Stacked Tables Plant Stand.
WOOHOO!!!


Photobucket

POST HIGHLIGHTED

My project of redoing the valance above my kitchen sink was highlighted on My {re}purposed Life
WooHoo!!!

Catch As Catch Can

Check out the other highlighted projects. There's some awesome work out there!

Photobucket

Saturday, December 18, 2010

GIFT IN THE MAIL

Looky what I got in the mail!
They're fridge magnets made form bottle caps. 
Aren't they cute?
I got these from Beckie over at Infarrantly Creative for using her code to order my new Silhoutte. 
Thanks, Beckie.


You should check out her blog


I'm sure she'd love some more visitors!


Photobucket

Wednesday, December 15, 2010

OVER THE SINK VALANCE REDO


 This is what the valance over my sink looked like before.
Kinda plain and that clock just SCREAMS 70's. 

I used my trusty MS Picture It! 99 to make a mock up of what I wanted my valance to look like.


The clock has to stay. It is not easy to find a clock that will fit in that space and yet be big enough to see clearly from across the room. I know 'cause I've been looking for years!

So, here is the clock before. This is the 2nd redo of this clock. Love those yellow numbers! Look at the original color on the inside. That matched the 70's print paneling that used to be in the kitchen, before we reinsulated the walls and put up drywall. Now the walls are a calm Antique White.

Again I used MS Picture It! to make a new clock face. I scanned in the old clock face and added new numbers in black and a script font over the positions of the old numbers.
 Moved the old face down and you can see a beautiful clock face.
 Added a homemade paper color to the background.
 Lightened the background and deleted the old clock face.
 Printed it out on matte photo paper with a borderless edge.
In the meantime, I primed the green of the clock case with Zinsser BIN primer, because I didn't think the lighter color would cover the green in less than 3-4 coats. I used  one of those cheap glue brushes to apply the primer, 'cause that stuff needs to be cleaned with ammonia and I'm not sure I want to do that with my good Purdy brushes. If nothing else, I can just toss the cheap brush, but I'll probably use it for glue.
I painted it with acrylic paint, the color "Linen", with my 1" Purdy brush.
This is my first project using my new Silhouette SD and so far I’m really liking it.
After measuring the valance from each side to the clock, subtracting an inch on the ends and next to the clock, I used the software program that came with the silhouette to map out my design.

Now, you can print it out the way it is on the screen, and it will do up to 39", but the vinyl is so expensive, that I put all my characters on  a 9x11 page and cut them out separately. It was a little more labor intensive, but I didn't waste all that extra vinyl. I just kept referring back to my layout to see where I needed to put each phrase.
I taped off the sides, top and bottom, to keep things level; then applied my phrases where the needed to be. 

Here is the after. Now that the clock is cleaned, it's much harder to get a clear pic without the flash reflecting off the glass. I think it dresses up the area and am pleased with how it turned out.

Linking to:


Tuesday, December 14, 2010

CSI PROJECT

I'm linking up my Stacked Tables Plant Stand  to the

“Painted With a Brush” Challenge at the CSI project.

Head on over there and check out all the projects..


Painting with a brush: That's usually the only way I roll baby!

Visit thecsiproject.com

Photobucket

Wednesday, December 8, 2010

THE BEST CROCHET SLIPPERS YOU'LL EVER MAKE!

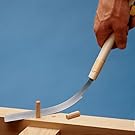
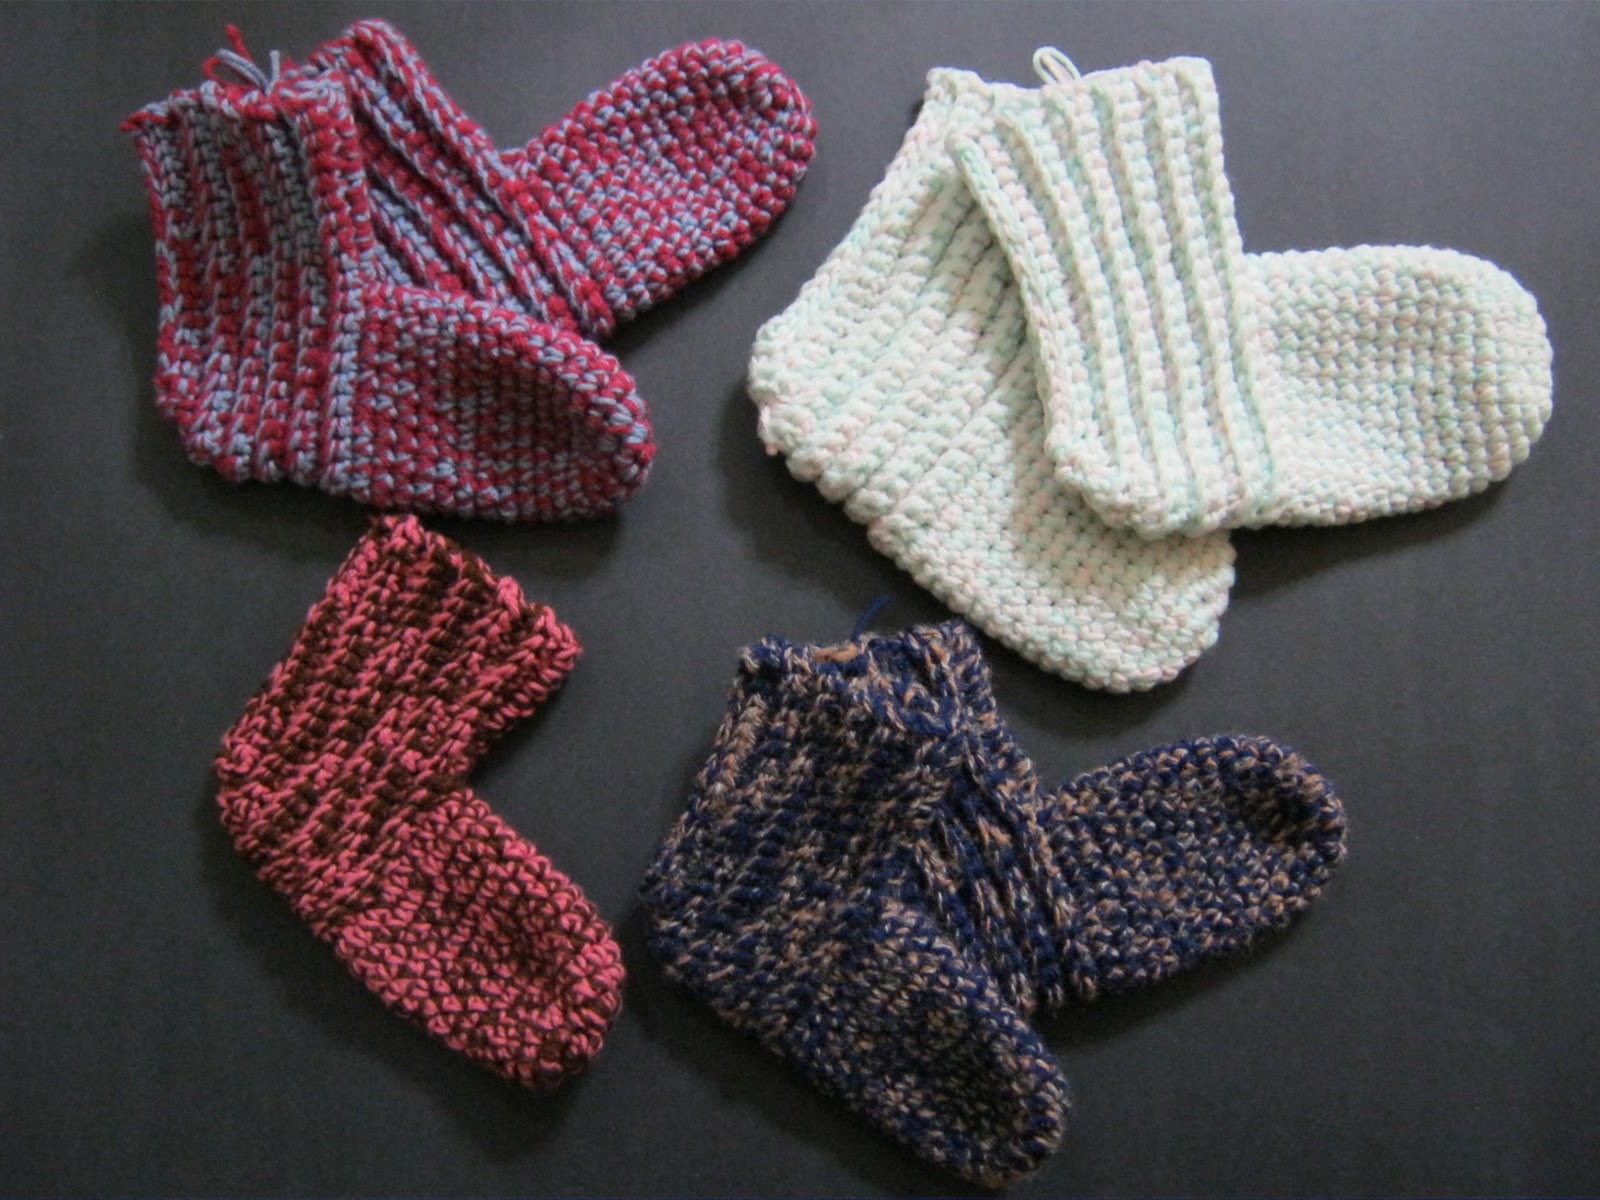
I have been making these slippers for years. First for myself and my kids and now for the grandkids. Some of my adult children still ask for some for Christmas.

These are the ones I've made so far for this Christmas. 3 1/2 pair - I still have 1 1/2 pair to make.

I don't remember exactly where I got the pattern, but it was from some crochet pattern book, back in the 80's I think. I've been recopying it for years and finally put my copy in a plastic page protector, so I don't wear it out.
You know when the felt liners in winter boots wear out? These make good replacement liners. They are thick since they are made from a double strand of yarn.
Check back after Christmas and I'll show you what else I make with just one of these slippers.

So, here's the pattern.


Slipper Socks

Men's:  Fits shoe sizes 8-12
Materials: Worsted weight yarn. 8 oz; size J crochet hook (Canadian size 3) or size needed for gauge.
Gauge: in sc, with 2 strands of yarn. 5 sts and  5 rows = 2".

Women's:  Fits shoe sizes 5-10
Materials: Worsted weight yarn, 8 oz. size I crochet hook (Canadian size 4) or size needed for gauge.
Gauge: in sc, with 2 strands of yarn, 3 sts and 3 rows = - 1".

Children's: Fits shoe sizes 9-12
Materials: Sport weight yarn. 4 oz., size I crochet hook (Canadian size 4) or size needed for gauge.
Gauge: in sc. with 2 strands of yarn, 3 sts and 7 rows = 1".

Size Note: Instructions are written for children s size with changes for women's and men's in parentheses.

Note:    All Sizes are worked with 2 strands of yarn.

INSTRUCTIONS

Rnd 1: Ch 2, work 5 sc info 2nd ch from hook to form a circle. Mark last st of this rnd with a pin, then move pin to mark the end of each succeeding rnd.

Rnd 2: Work 3 sc into each sc around: you should have 15 sc.

Rnd 3: * 2 sc in first sc, sc in each of next 2 sc, rep from * around:  20 Sc.

Rnd 4: For men's and women's sizes only. * 2 sc in first sc, sc in each of the next 3sc, rep from * around 25 sc.
Work even on 20 (25-25) sc for 12 (12-14) rnds more. Do not finish off.
Back: Ch 11.

Row 1: Using both loops, sc in 2nd ch from hook and in each of next  9 ch; sc in each of next 20 (25 - 25) sc; sc in each ch on opposite side of beg ch; ch 1, trun.
You should have 40 (45-45) sc.

From now on, sc in the back loop (loop away from you) of each sc. 

Rows 2-9: Sc in back loop of each sc across; ch 1, turn.

Dec Row 1: Sc in each of next 18 (20-20) sc, dec over next 2 sts as follows: draw up a loop in each of the next 2 sts: 3 loops on hook, YO and pull through all 3 loops on hook, work 0 (1-1) sc, dec as before over next 2 sts, sc in each of next 18 (20-20) sc, ch 1, turn.

Dec Row 2: Sc in each of next 17 (19-19) sc, dec over next 2 sts, work 0 (1-1) sc, dec, sc in each of next 17 (19 -19) sc, ch 1, turn.

Dec Row 3: Sc in each of next 16 (18-18) Sc, dec, work 0 (1-1) Sc, dec, sc in each of next 16 (18-18) sc; ch 1, turn.

Finishing: Fold back section in half, carefully matching sts. Sl St inside loops of sides tog. Finish off 

 !Enjoy! 
And  Have  A Wonderful Homemade Christmas!


Linking to:


Fine Craft Guild
NightOwlCrafting
Blog Button
Beyond The Picket Fence


Catch As Catch Can

504 Main

Join  us Saturdays at tatertotsandjello.com for the weekend wrap up    party!


Photobucket