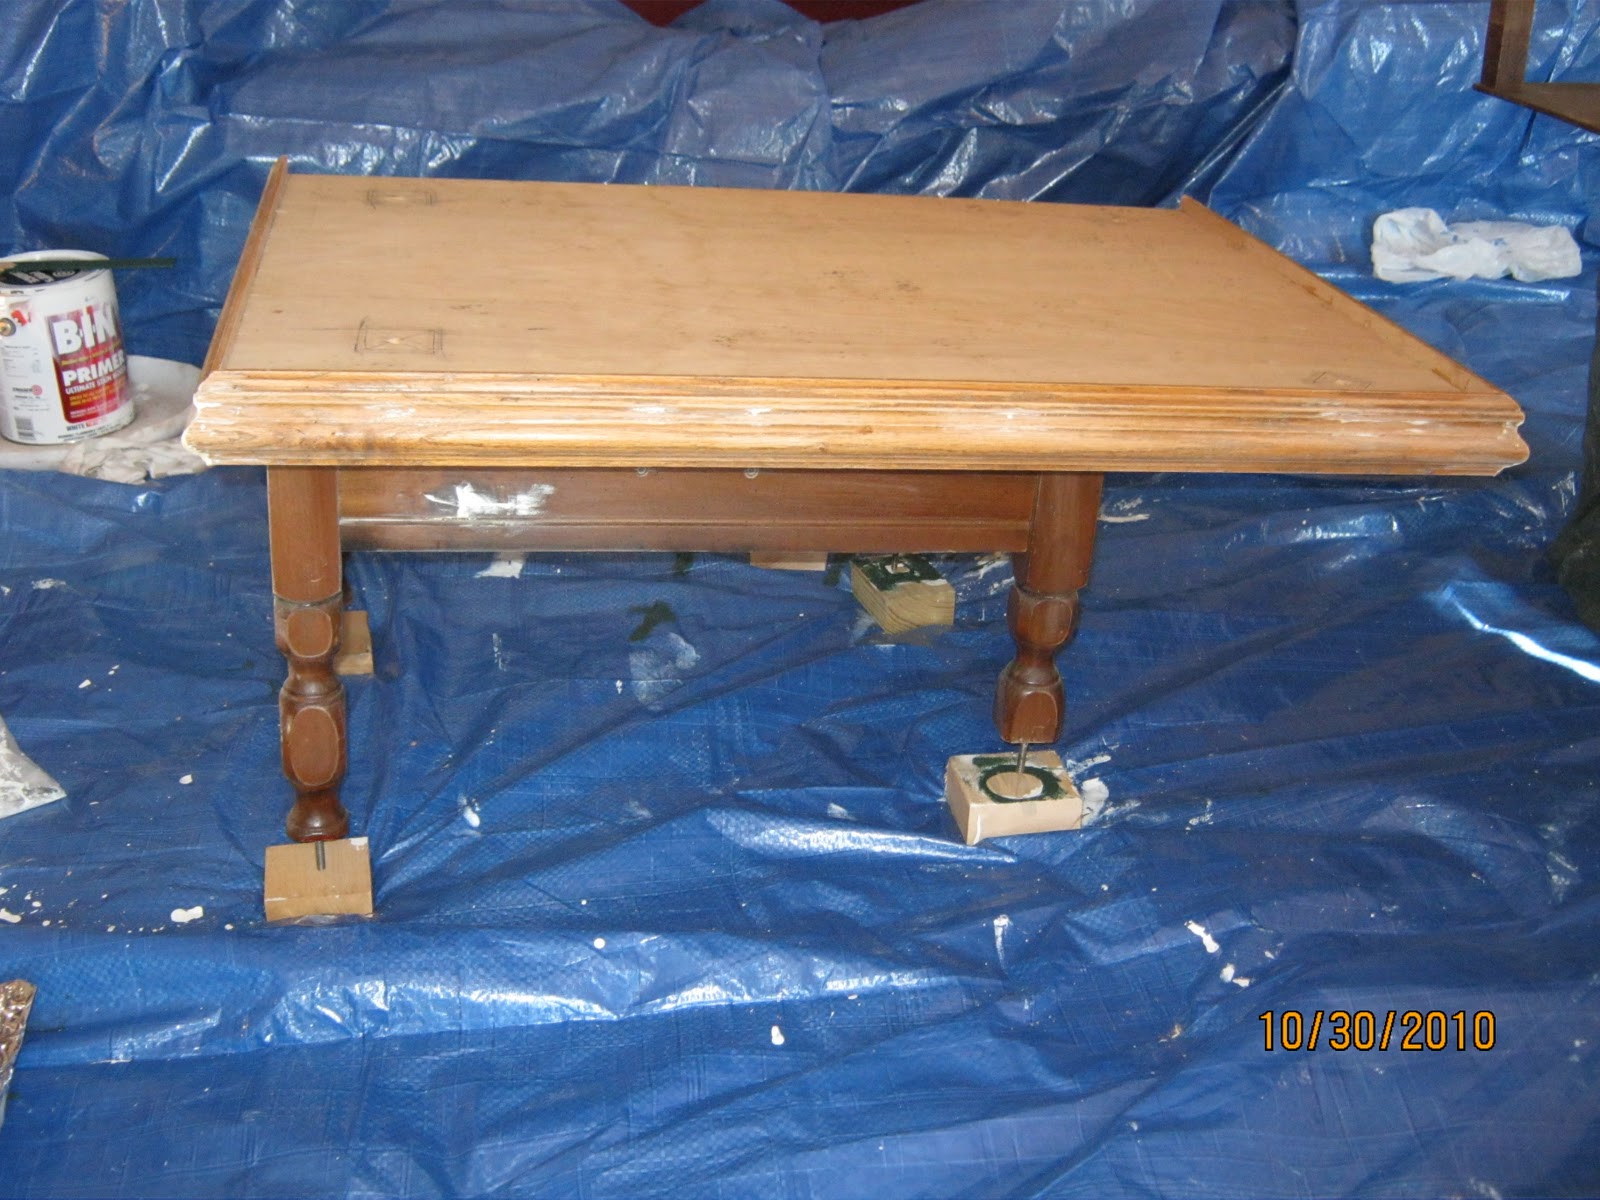
This is how I went about trying to figure out where I needed to cut the legs. I used whatever I could find to get my legs to the height I needed for each level. From here I moved my work out to the driveway and put it on a jigged up plywood sheet to have some semblance of an even place to work.
I started with the middle bottom table and worked my way up from there. Those legs I cut off all at the same level, as compared to the table on the right, so I wouldn't have to cut those legs, then went back and started putting my two other bottom layer tables on. I used a torpedo level to make sure the first table was level and leveled off of that one all the way up. It's pretty close , no more than 1/8 of a bubble off, and I'm not so sure that wasn't my plywood jigged on the driveway causing the problem.
This table had some serious bubbling going on and a slit in the top, so I chiseled and pried and took the top veneer off and replaced it with a piece of 1/4" plywood, which I glued down with
Gorilla Glue,tacked in place with some brads and put some clamps and gallon jugs on to hold it in place while it dried. It didn't have to be replaced with veneer, since I would be painting it. I filled in the edges with
Rock Hard after the glue had dried.
Luckily, the two legs I took off that table were the exact height I needed to replace the legs in the table on the other side.
As I cut off legs and added tables, I would rearrange my "supports" and mark for the next table. Again, I used whatever I could find that would give me the right height.
Pay no attention to that man behind the curtain! messy garage. Right now it looks like Dorothy's tornado went through! It'll get straightened up before the snow flies.
And, see that little black L-shaped thing? That's a Clamp-It Assembly Square, that I bought from
Rockler several years ago when when Gary and I started building toy boxes for the Grandkids. It comes in very handy and I find myself using it on almost all my woodworking projects. It's made of plastic, so it slides around real nice on your work surface without scratching. Plus, it's smaller than a typical triangle square. Here I used it to make sure my tables were square to each other. I also use it to measure, when I need certain spaces to be the same, by placing a piece of tape on it where I need the measurement to be. Oh, and it can be clamped on to make 90°corners, inside or outside. All in all, a handy little tool.
All I can say is clamp, clamp, clamp and level as you go. You can never have enough clamps.
You can click on this image to make it larger, but what I did here was trace around each leg so I could line up where my holes would be placed for the hanger bolts that would hold the tables together.
Yes, I goofed a little with my marks, but that's why you measure, measure, measure, before you make your final cuts or drill any holes. This image shows it better. X marks the spot.
Here's the holes drilled in the top of one of the tables. And yes, I drilled in the right spot.
Fortunately, I only had to buy 4 more hanger bolts, since I took the ones off the legs from the table with the stepped shelf and we had 4 extra legs, from an old couch, I believe, laying around. They have a screw on one end and a bolt on the other end. This is what they look like.
The fastening system holding the tall table on the bottom are longer cabinet screws, some washers and two cabinets knobs, which I painted to match the main piece.
I drilled all the holes and put in all the hanger bolts before painting , and did a dry fit just to make sure everything lined up the way it's supposed to. And it did!
I removed any drawers from the tables, filled in the holes with Rock Hard and these will be replaced after they are painted. I replaced them after painting, 'cause I wanted to make sure it was painted under, just in case it would show through the cracks.
I then marked and drilled holes on the front of each table and will put the handles on the front. There were two tables that didn't have drawers, so I swiped some handles from some drawers my son was throwing away. As you can see, I'm not perfect, my math skills escaped me for a bit and I did not measure in the center the first time. Oh, well, that's what Rock Hard is for.
I used
Rub n Buff to make all the handles pewter. You can see what I did
Here
The two tables without drawers were just a little too small to fit my final table on top, so I added a piece of 3/4" oak plywood to each so they would be long enough. It gives me added space for plants to boot. I wanted to cover up the plywood, so I added trim molding which we got from an uncle when he was getting rid of excess construction materials from his projects. Never so NO to FREE! WOOHOO!

This project was taking a long time for various reasons, so it got too cold to paint in the garage, so I had to move my work into my living room. That'll get you to start moving your butt and get things done.
Here're the first two tables primed and ready for paint. I used
Zinsser BIN primer and recommend it. I didn't have to sand much at all, just where there was fingernail polish spilled on one of the tables, over the areas I filled with Rock Hard, and the plywood piece I applied to the one table. The rest I just gave a cursory once over with sandpaper. Some people have reviewed the Zinsser BIN primer and said it stinks a lot. I didn't find the smell to be near as offensive as the ammonia you have to use to clean the brushes and rollers. One tip I have is; rather than clean your brushes and rollers after every step, put them in a bag and put them in the refrigerator. I used a recycled cereal bag. For the paint, I just put a bag over my entire paint tray and brushes and rollers and that kept moist til the next day. However; this primer dries so quickly, that it needs to be chilled to keep from drying onto the tools.
I used
Dutch Boy Porch and Floor paint, in Pine, because I figured if the paint could hold up to foot traffic, it should do pretty well with plants. I used a foam roller for as much of the painting as I could, but I did have to use a cheapo brush to pounce the paint into the crevices. I couldn't see risking ruining an expensive brush on this, so I just tossed the cheapo brush when I was done. When It comes to the finish, though I use a good quality brush, so my finish is smooth and the poly goes where I want it to.
So, here's the first two tables in their final resting place. Once I have it all painted and together, I will put a brown glaze over the whole piece. I did not want to do this separately,'cause I was afraid it wouldn't match up the same.
I needed a little extra height so the screws would tighten fully, so I "glued" these washers together with paint, to make sure they would stay in position. Then I could paint the tops, bottoms and sides as one piece. It worked out rather well.
That small table was certainly a pain in the butt all the way through. First, I had to replace the top and here in this closeup, you can see the tiny detail running around the top. I used various ways to try to get this area painted, including a small brush, a foam brush, a roller and finally in some places a toothpick to spread the paint in the crevices. I wanted to try to keep as clear of detail as I could and not fill it in with paint. In the end, it turned out pretty well.
These are the next two tables I finished and added to the mix. I used some bubble wrap on the tops to place the hanger bolts on to try to prevent scratching the paint on the previous layer. This worked pretty well, but I still had a couple minuscule spots to touch up.
Finally, the last two tables done. With these two, being it was getting higher, I needed help to put them on. I did a few touch ups, where I missed some and any little dings I made while assembling it. Here is the stand with just the paint finish.
I had to be very careful with my painting now, because the plant stand was now in my dining room and there was not much room to maneuver things. I put a glaze on it using thinned down acrylic paint in Burnt Umber using a combination of techniques that worked for me, but this is where I got the most helpful tips:
My Re-purposed Life.
Finally I put a coat of
Minwax Polycrylic, satin finish on to further seal it from moisture.
These are some of the supplies I used. I didn't include the cheapo brushes, 'cause I had already tossed them, before I was ready to take pics, but that's my
PURDY brush for the final smooth coats of the polycrylic.
The plant stand has been done now for a couple of weeks, but first I needed to let the paint cure. Then, my Christmas cactus was so close to blooming that I decided to wait with the reveal 'til I had a nice floral display from it. It still has more blooms to open, but I couldn't wait anymore.
Sooooooo.......
Ta-Da!
I brought in the glass block monogram from the deck to display for the winter. I replaced them with a bird feeder for the winter months. I tried to keep everything displayed, garden related, so I have my garden books and magazines, as well as some of my garden trowels in the vases at the bottom. I have a photo of my deck garden from this past summer in the rose frame and the hope is to switch that out each year with the current summer's photo. The tissue paper flowers on the right are from my granddaughter.
I think it turned out pretty well and I am pleased with it. It is a little large for the dining room, but if we ever build our dream house, we'll make sure to incorporate a large enough space to handle it.
at
Tables - $21.00
Supplies - $40.00 + lots left over
Labor - several days here and there
Not having my plants pull my ceiling down at midnight - PRICELESS!!
Linking to:


 Look at that, a spider has already built a web on it. HA!
 Front
Front Back
Back See how the boards fit nicely into the bed rails?
 The planter hangers I just left to rust.